Building the Perfect K3s Homelab Cluster: Lessons Learned and Complete Setup Guide
Introduction
For the past 12 months, I've been running my own homelab, using it to self-host various software and services. My original setup was a highly available four-node Kubernetes cluster powered by K3s, a lightweight Kubernetes distribution designed for resource-constrained environments. While I've been quite happy with this setup, I made several mistakes at the beginning—mistakes that I would definitely change if I were to rebuild my cluster from scratch.
So that's exactly what I decided to do: take what I've learned and build what I consider to be the perfect homelab.
Planning the Perfect Homelab
I started by carefully defining what I wanted in my next setup:
- A highly available Kubernetes cluster, but with three nodes instead of four to simplify the setup and reduce power consumption and costs
- Each node with 32GB of memory and 2TB of storage to enable running more services on each node
- At least one 2.5 gigabit ethernet port per node, sufficient for my home network
- Power consumption under 20 watts when idle to minimize heat, noise, and energy costs
- A CPU capable of handling any tasks I might throw at it
Hardware Selection
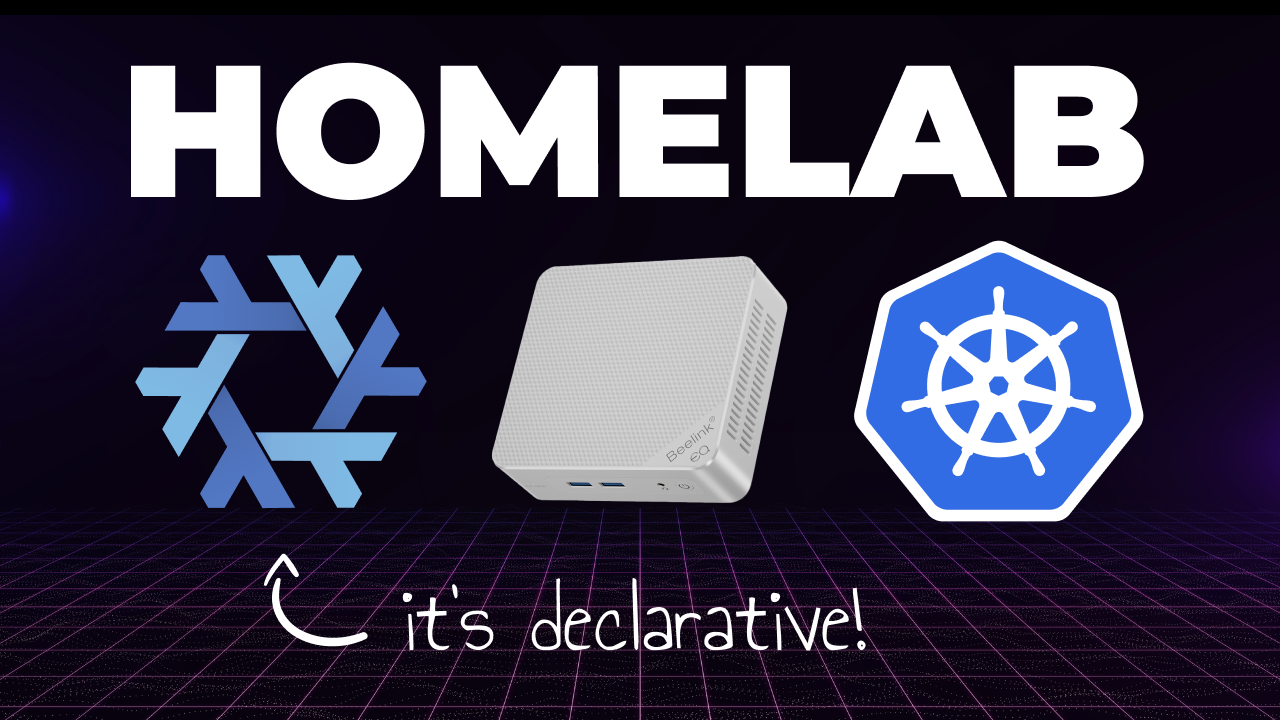
After researching viable options, I settled on the Beelink EQ12, which met or exceeded all my specifications:
- CPU: Intel N100 (incredibly power efficient at 11 watts idle, 23 watts under load)
- Networking: Dual 2.5 gigabit ethernet ports
- Graphics: iGPU that supports most modern media codecs
While the EQ12 comes with only 16GB of RAM and 500GB of storage by default, both components are easily upgradable. Despite Intel's documentation claiming the N100 only supports 16GB memory, I was able to successfully install and use 32GB.
I ordered the following components:
- 32GB RAM
- 2TB SSD
Total cost: approximately $1,400. If you're just getting started with homelabs, I'd recommend using an old laptop or other hardware you might have lying around rather than making this investment immediately.
Hardware Upgrade Process
The EQ12 is quite straightforward to upgrade:
- Remove the bottom plate by taking out four screws and pulling up the plastic tab
- Remove the 2.5" SATA drive enclosure (three more screws)
- Gently lift the enclosure, being careful with the attached cables
- Detach the 4-pin fan header
- Replace the existing 16GB memory with 32GB
- Replace the SSD, remembering to transfer the mounting screw
- Reassemble in reverse order
I repeated this process for all three machines.
Operating System Selection
For my initial homelab, I used Ubuntu Server, which worked but was tedious to set up on each machine. This time, I wanted a more declarative approach.
I considered two options:
- Talos Linux: An immutable, minimal distro designed specifically for Kubernetes
- NixOS: A distro I've grown to love after using it on my Framework laptops
I opted for NixOS since I was already familiar with it. To make the installation process even easier, I decided to use NixOS Anywhere, which allows remote installation via SSH.
NixOS Installation Process
- Downloaded the NixOS installer ISO and flashed it to a USB drive using the
ddcommand - Booted each node with the installer and set a password using the
passwdcommand - Obtained the IP address using the
ip addrcommand - Installed the Nix Package Manager on my source machine (Arch Linux in my case)
- Created a NixOS configuration (available on GitHub)
Key components of the configuration to customize:
- User details (username, SSH keys, password hash)
- K3s token for cluster authentication
For the K3s token, I:
- Generated a secure token using
pwgen -s 16 - Initially hard-coded it in the configuration (not committed to Git)
- Later replaced it with a reference to the token file created during installation
For more secure secret management in NixOS, SOPS-nix would be a better approach that I'll explore in the future.
Deploying NixOS and K3s
I installed NixOS on each node using NixOS Anywhere:
nix run github:numtide/nixos-anywhere -- --flake .#homelab-0 root@<IP_ADDRESS>The installation took some time for the first node but was significantly faster for subsequent nodes thanks to caching of build artifacts.
After installation, I:
- Verified the K3s cluster was operational with
kubectl get pods - Copied the Kubernetes configuration to my host machine
- Modified the server value in the config from the loopback IP to
homelab-0 - Configured fixed IP addresses for all nodes in my router
- Labeled each physical node for easy identification
Setting Up Essential Services
With my three-node cluster up and running, I moved on to setting up necessary services:
1. Container Storage Interface (Longhorn)
I chose Longhorn for distributed storage, which provides fault tolerance and redundancy. To install it:
- Created a Helmfile for declarative deployment
- Added the Longhorn repository and chart
- Applied the Helmfile
I encountered an issue where Longhorn couldn't find the iscsiadm binary due to NixOS's non-standard filesystem hierarchy. I fixed this by adding the necessary configuration to my NixOS setup.
2. Load Balancer (MetalLB)
MetalLB provides load balancer implementation for bare metal Kubernetes clusters:
- Added MetalLB to my Helmfile
- Deployed it to the cluster
- Created an IP address pool (192.168.1.192/26)
- Configured an L2 advertisement pointing to the pool
3. DNS Server (Pi-hole)
I deployed Pi-hole for local DNS resolution and network-wide ad blocking:
- Added Pi-hole to my Helmfile with a custom values file
- Configured a persistent volume using Longhorn
- Set the load balancer IP to 192.168.1.250
- Configured upstream DNS servers to point to my router's IP
4. Ingress Controller (Nginx)
I installed the Nginx ingress controller to act as a reverse proxy:
- Added the Nginx ingress controller to my Helmfile
- Configured it as the default ingress for the cluster
- Set the ingress class and name as "nginx-internal"
5. Automatic DNS (External DNS)
Finally, I set up External DNS to automatically create DNS records in Pi-hole:
- Added External DNS to my Helmfile
- Configured it to write DNS records to Pi-hole
- Set it to only check for hostnames in the nginx-internal ingress
Final Result
With all these services configured, I was able to access Pi-hole using the domain name pihole.home on my local network. The basic infrastructure was now in place, ready for me to start migrating the rest of my services.
Conclusion
Building a homelab cluster is an incredibly rewarding project that provides practical experience with technologies used in enterprise environments. My new three-node K3s cluster is more power-efficient, has better storage, and is managed in a much more declarative way than my previous setup.
The key lessons I learned from this rebuild:
- Define clear requirements before selecting hardware
- Choose a declarative approach to operating system installation and configuration
- Use Kubernetes-native tooling (Helm, Kustomize) for service deployment
- Pay attention to storage, networking, and DNS to build a solid foundation
If you're interested in seeing more about how I'm using this homelab cluster for other services, let me know in the comments!
Additional Resources
- K3s Documentation
- NixOS Manual
- Kubernetes Documentation
- Homelab Subreddit - A great community for homelab enthusiasts
- Helm Documentation
- Pi-hole Documentation
- Longhorn Documentation
All configuration files mentioned in this post are available in the GitHub repository.

